Tag : garlic
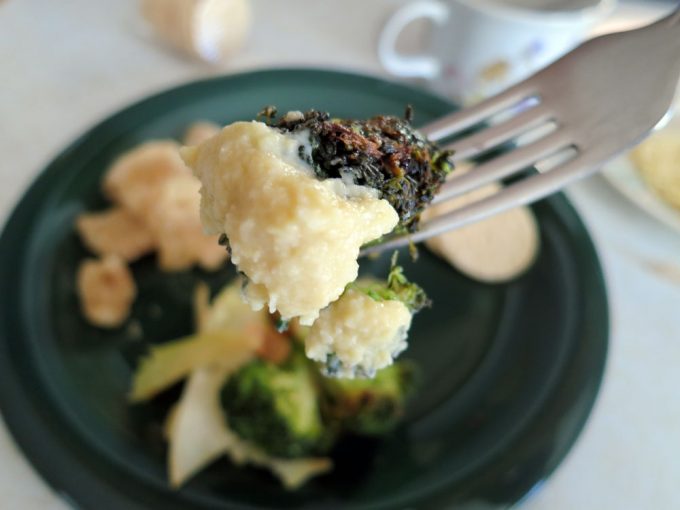
This is a quick, homemade hummus recipe that is easy and tastes out of this world, not to mention cheap as hell and nutritious to boot – all of which are why it is so sexy. I’ve made it for unsuspecting guests, for parties…and sometimes I just make up a whole batch and eat it in one or two sittings over a good read.
It has just four ingredients: canned garbanzos, a little olive oil, one clove garlic and half a large lemon (or a whole small one):
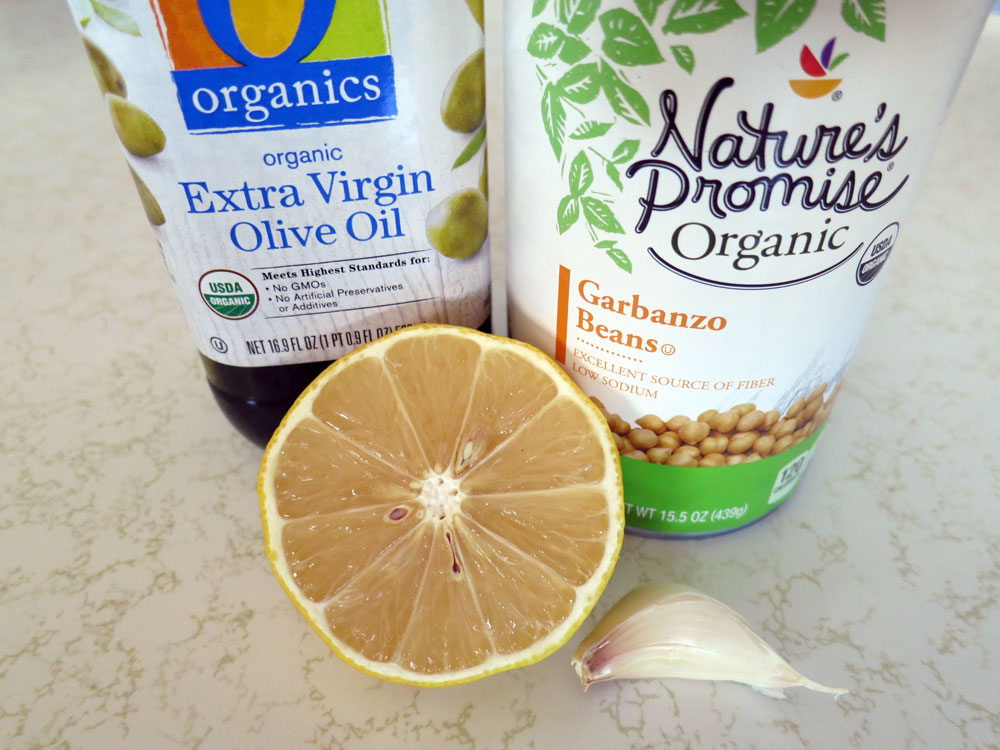
- 1 can organic garbanzos (15 oz or 425 ml)
- 1 tb or 15 ml olive oil
- 1/2 large or 1 whole small lemon
- 1-2 sections of garlic (to taste)
*Note that I’ve not included tahini – neither you nor your wallet will miss it.
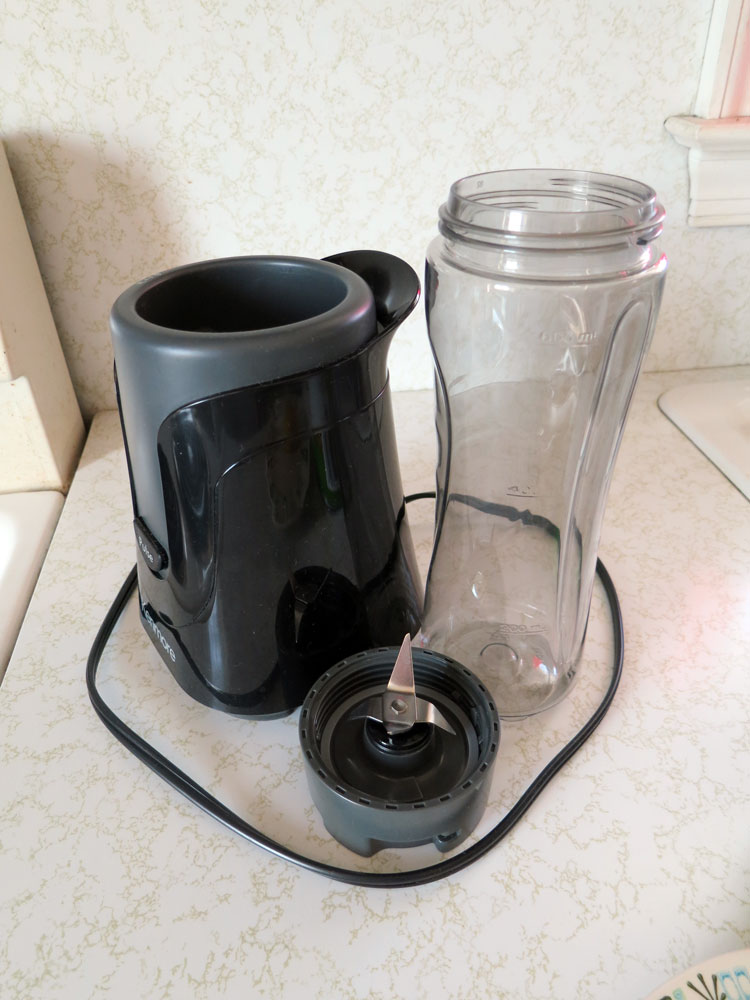
You’ll also need a blender or personal blender, such as the one I have…
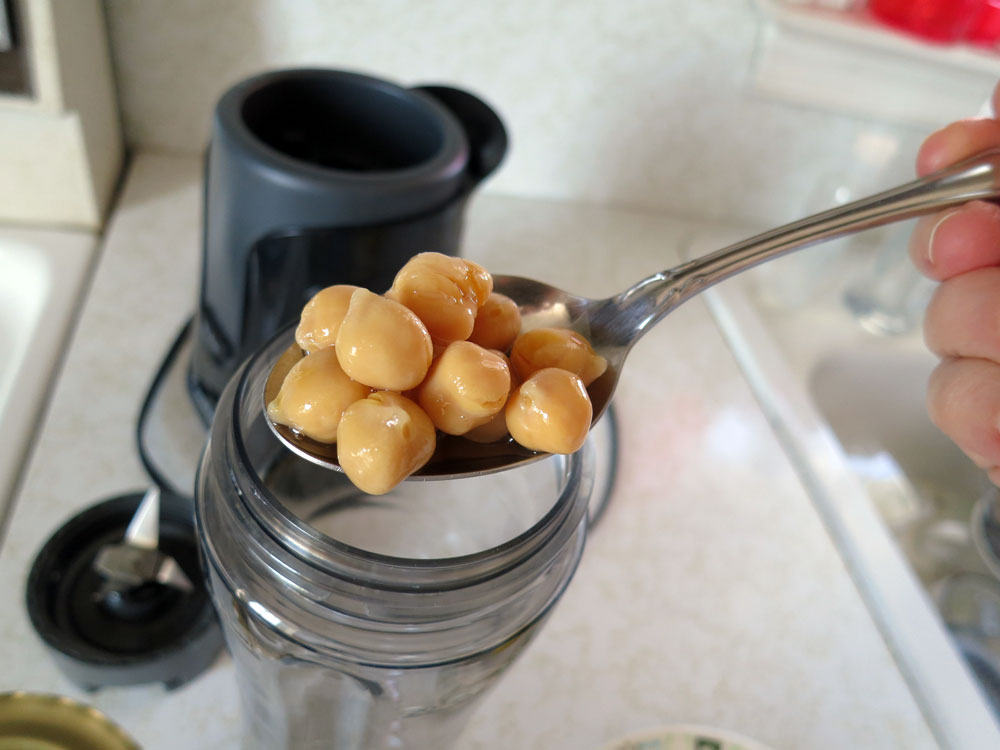
First, I spoon out the garbanzos into the blender and pour about 1/3 the liquid in with it. I also reserve 5 or 6 whole garbanzos as optional garnish for the finished hummus:
Next, squeeze the lemon into the blender:
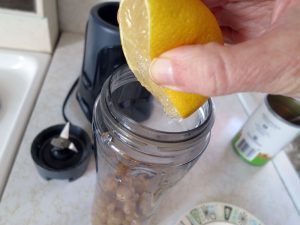 Once again, use about half of a large lemon (and note that mine had thin skin and lots of flesh to juice from) or a whole small one.
Then, slice up the garlic and add the olive oil (here, I’m eyeballing the olive oil, but if you’re looking for specifics, use a tablespoon, or 15 ml):

Now, swish or swirl the ingredients just a bit before blending. Place your blender’s cover on and blend using pulses until you get a uniform consistency…


Pour and/or spoon out the hummus into a nice bowl or ceramic cup, as I’m using here, and refrigerate what’s left over:
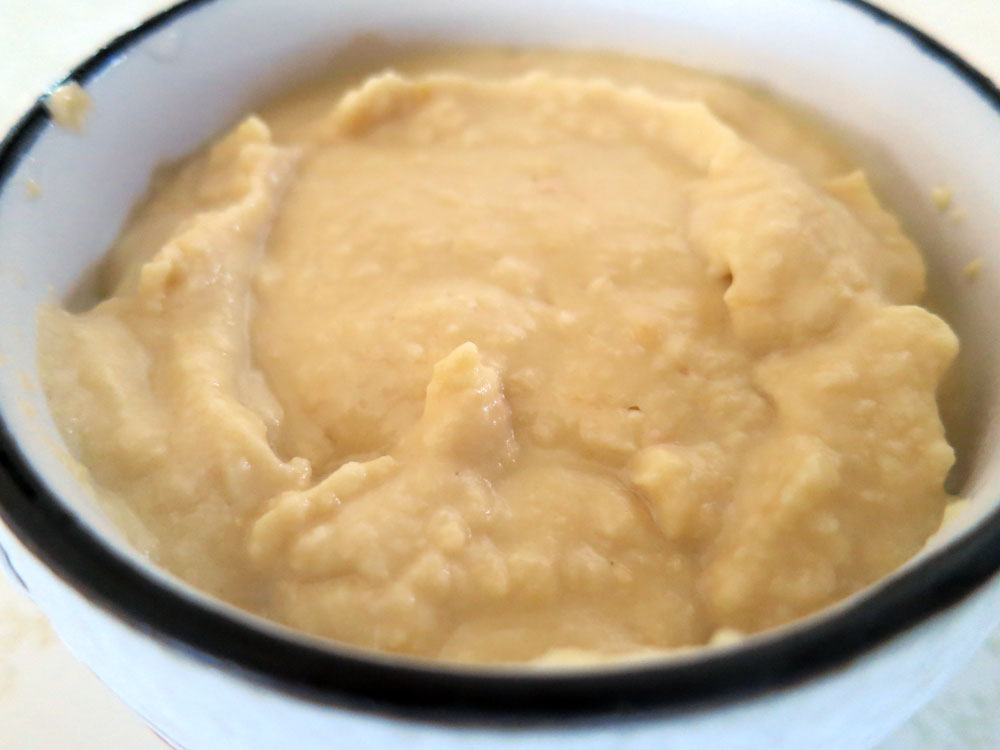
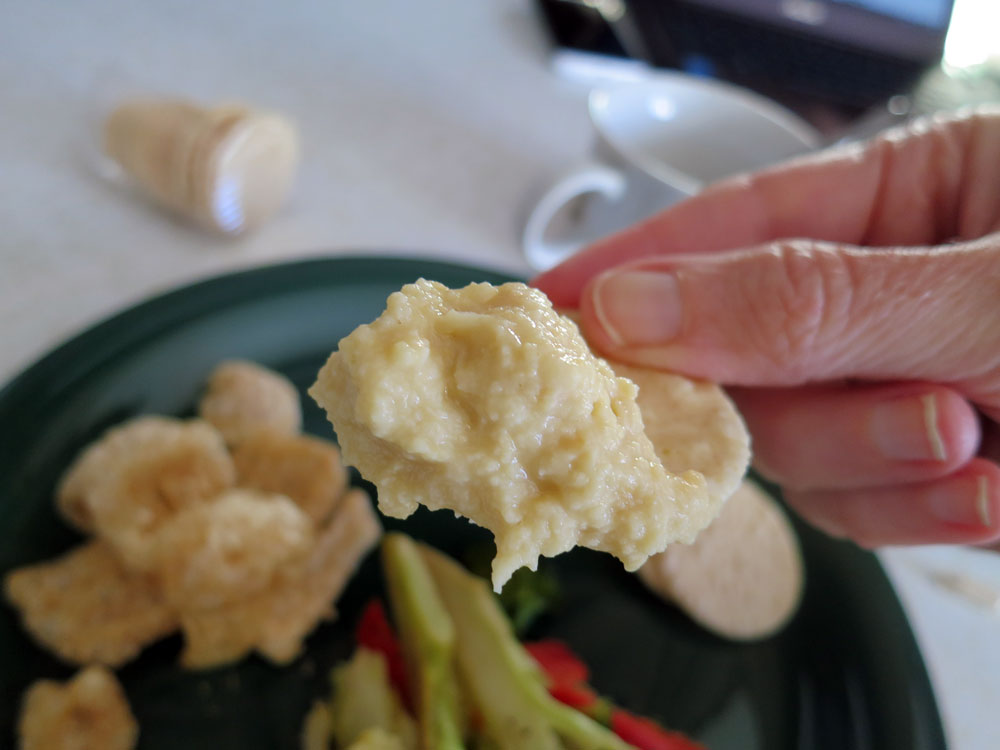
This makes for a great party or dinner snack dip, or even a small meal when you eat the entire following plate yourself:
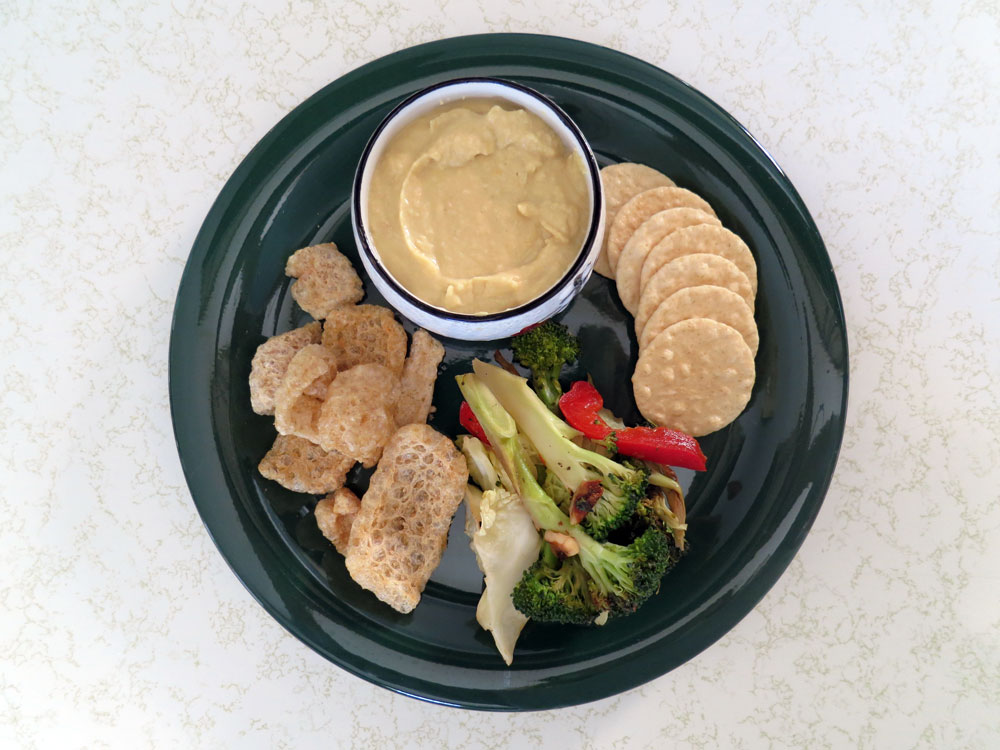
So, what on earth are pork rinds doing in this mix? Try them with the hummus – you just may really like them, especially if you’ve gone keto or follow another lower-carb/higher-protein set of eating habits.
This hummus goes with just about everything – I’ve even used it on salads, chicken, and on homemade pizzas to cut the cheese (pun intended – garbanzos may have you going a bit gassy!) amount in half so it lasts me a bit longer.
Given that the olive oil was $4.99 for 16.9 oz, the garbanzos were $.99 for a 15-ounce can, the section of garlic came from a 50-cent bulb, within which there were a dozen or so cloves, and the lemon was $.75. So…here’s the price breakdown:
- 1/2 lemon…. $.38
- 1 tb olive oil..$.16
- 1 section garlic…$.04
- 15 oz can garbanzos…$.99
All told: $1.57 for about 15 ounces of homemade hummus … now, compare that to what you’re paying at the supermarket! They charge TONS for hummus you can make in about five minutes…and if you double the recipe, it’s $3.14 for about 30 ounces.
Have fun!
Bon appetit, stay safe…and eat healthy!
Alison
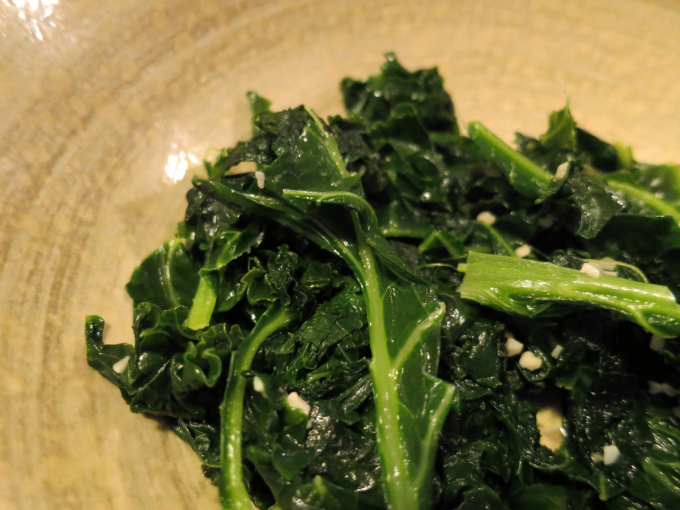
Kale is the green’s green – thick, hearty, and full of nutritional value. And like any self-respecting green, it tastes like one. At least until you add a few simple things, then everything changes. Flavor happens. People start asking you to “make that kale thing you made that other time,” and all sorts of good stuff that’ll lower your karmic debt.
Hell, it’s one way to get some meaningful veggies down your throat!
I cooked this at my best friend Kelly’s house in Pennsylvania. She, like me, is always looking for better eats and health, and well, there I was. This simple dish will add flavor and pleasure to any meal, and is also a pretty good snack on its own.
All you’ll need are:
- One Bunch Organic Kale
- 1 Tsp Dried or One Clove Fresh Garlic, Minced (Organic, if Possible)
- 1/2 Tb Butter
- Sea Salt
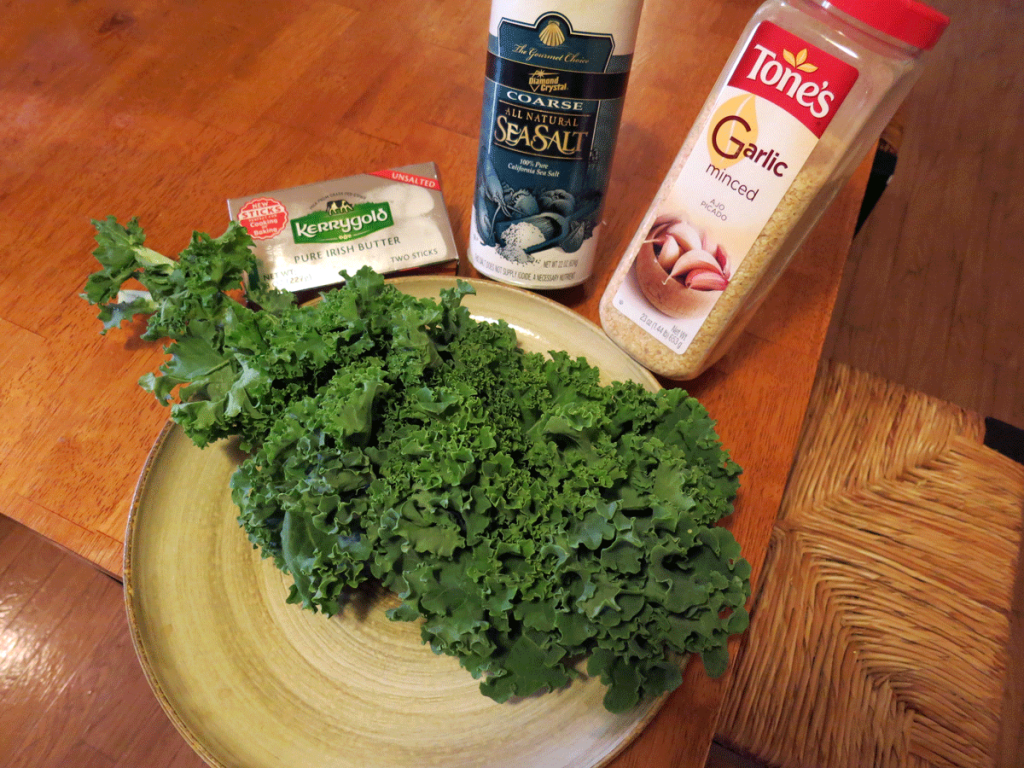
First, you’ll want to disassemble your bunch of kale and slice the leafy parts of the leaves off the stems, rip them into bite-size pieces and place them in a pan with just a little water, say a couple of tablespoons. The easiest and fastest way I’ve found to de-stem kale leaves: Use kitchen shears. They will save you time you will want to waste procrastinating on facebook.
But seriously, a good set of kitchen shears will keep the time spent and the lacerations to a minimum.
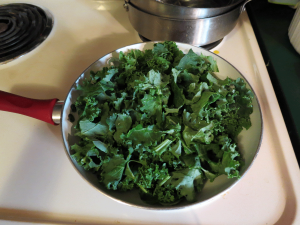

Once the kale is in the pan, cover then heat it on a high heat setting to get the kale to start boiling. Kelly’s stove had knobs like this, so I used an 8 for a gentle boil.
After the kale has boiled for a few minutes and started to darken, add in your garlic, butter and a couple dashes of the sea salt, turning your stove’s heat setting down to medium:
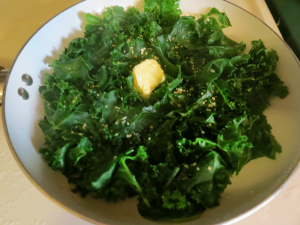

Cover the whole lot and let it simmer for several more minutes. I find that boiling and simmering for a total of 10 minutes works well – it softens the kale and mingles the garlic, butter and sea salt perfectly with it. I like soft kale, not the tough stuff, and I’ll take flavorful versus rabbit food anytime. Stir and taste test a piece when approaching 10 minutes to see if it’s the right amount of doneness for you.
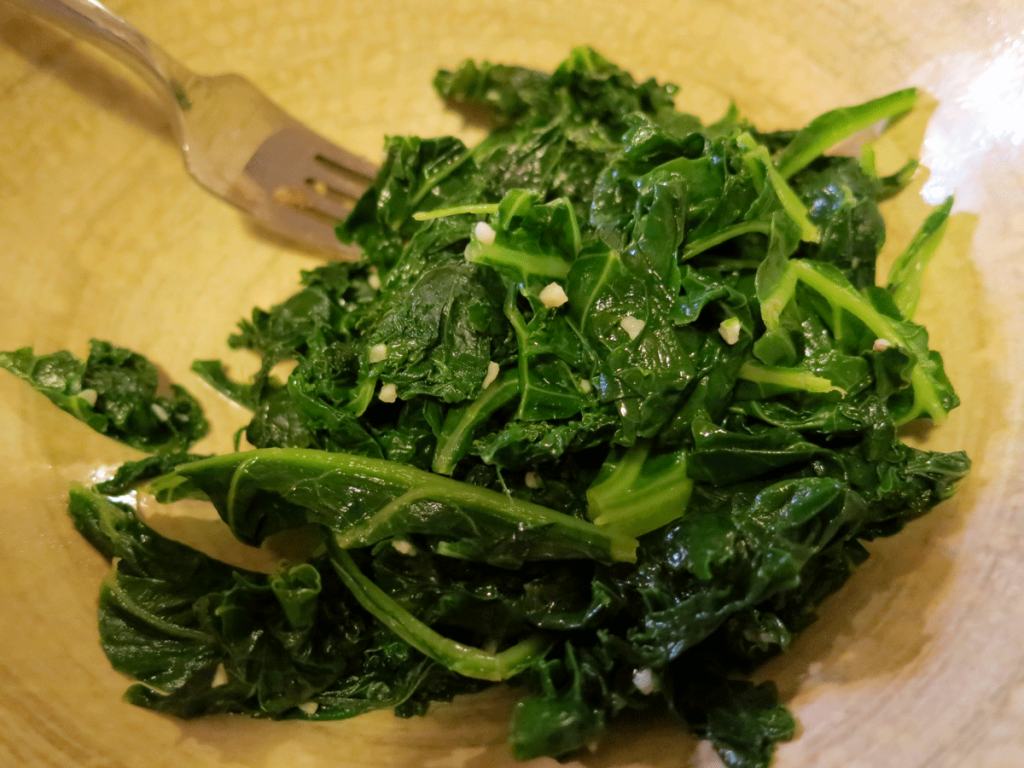
Dee-lish! And a health-giving, colorful addition to any plate. Makes a great, hearty side for red meats, beans, and it’s great with potatoes and other starchy vegetables, such as squashes, or root veggies, like parsnips. Kale pairs well with things that have a sweetness about them, and that makes it one of the sweetest thangs 🙂 …so dig in!
Yours in Great Health,
Alison
